Let's talk essenest.
I'm the Interior Designer for an up and coming property management company called essenest which is based off the moto "we create and manage properties that inspire".
This is one company that goes the extra mile to provide homes to people instead of just a place to live.
I'm the Interior Designer for an up and coming property management company called essenest which is based off the moto "we create and manage properties that inspire".
This is one company that goes the extra mile to provide homes to people instead of just a place to live.
There is much more to come regarding this company and the projects that we'll be working on together. For now, I'll introduce you to our first property, we'll call this town home the Ramsgate Project.
Long story short, this home was evicted and left in pretty bad shape. But on the bright side it's giving us a chance to make it even better than before.... we've just started this renovation so I'll begin with some of the before photos...

Welcome to the Ramsgate Project

Working on the missing fixture & curb appeal.

Broken Windows

Kitchen View


Foyer

Foyer.
And yes, the walls look equally this bad through out.

Bar/Eating Area

Laundry Closet

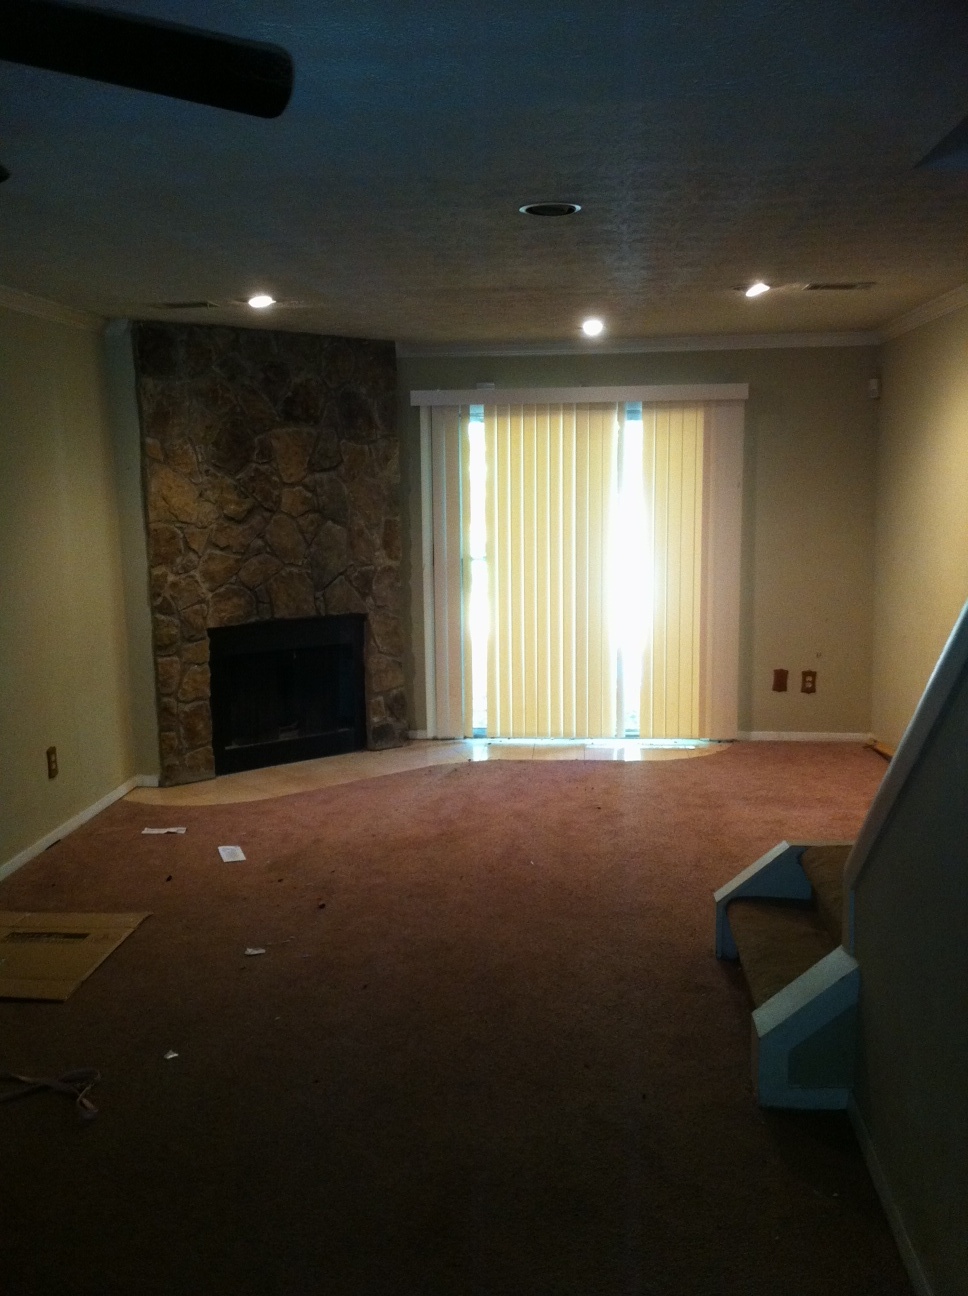
Living Room


Railing has a little accident.
This area is also not to proper CODE and needs an additional handrail installed.

Whoops!

Looking down the stairwell.
Needs new flooring and new side railing.

Many of these around.

One of the bathrooms... eek!

Whatever fixture this used to be is not cute...
Well there you go!
I cannot wait to get further into this project and really transform this property. This will be the happiest home on the block when we're finished with it.
Make sure you check out essenest's tumblr page essenest.tumblr.com and website http://www.essenest.com/ (currently under contruction).
Stay tuned for updates!!
Happy Designing!
Heather